As I mentioned in my previous post about the kitchen, we discovered that all of the cabinets had to be replaced. Basically, we needed to rebuild the entire kitchen, repair the walls, replace the window, add a vent for the range, replace the cabinets, and buy new appliances {since there were none to begin with}. It was quite an undertaking.
We began with putting in new flooring, which we did on a budget {more on the floor later}, and of course, with everything out of the kitchen, we patched any areas of the drywall that needed replacing, and we took the opportunity to replace the window with a new vinyl window, which looks great over the sink.
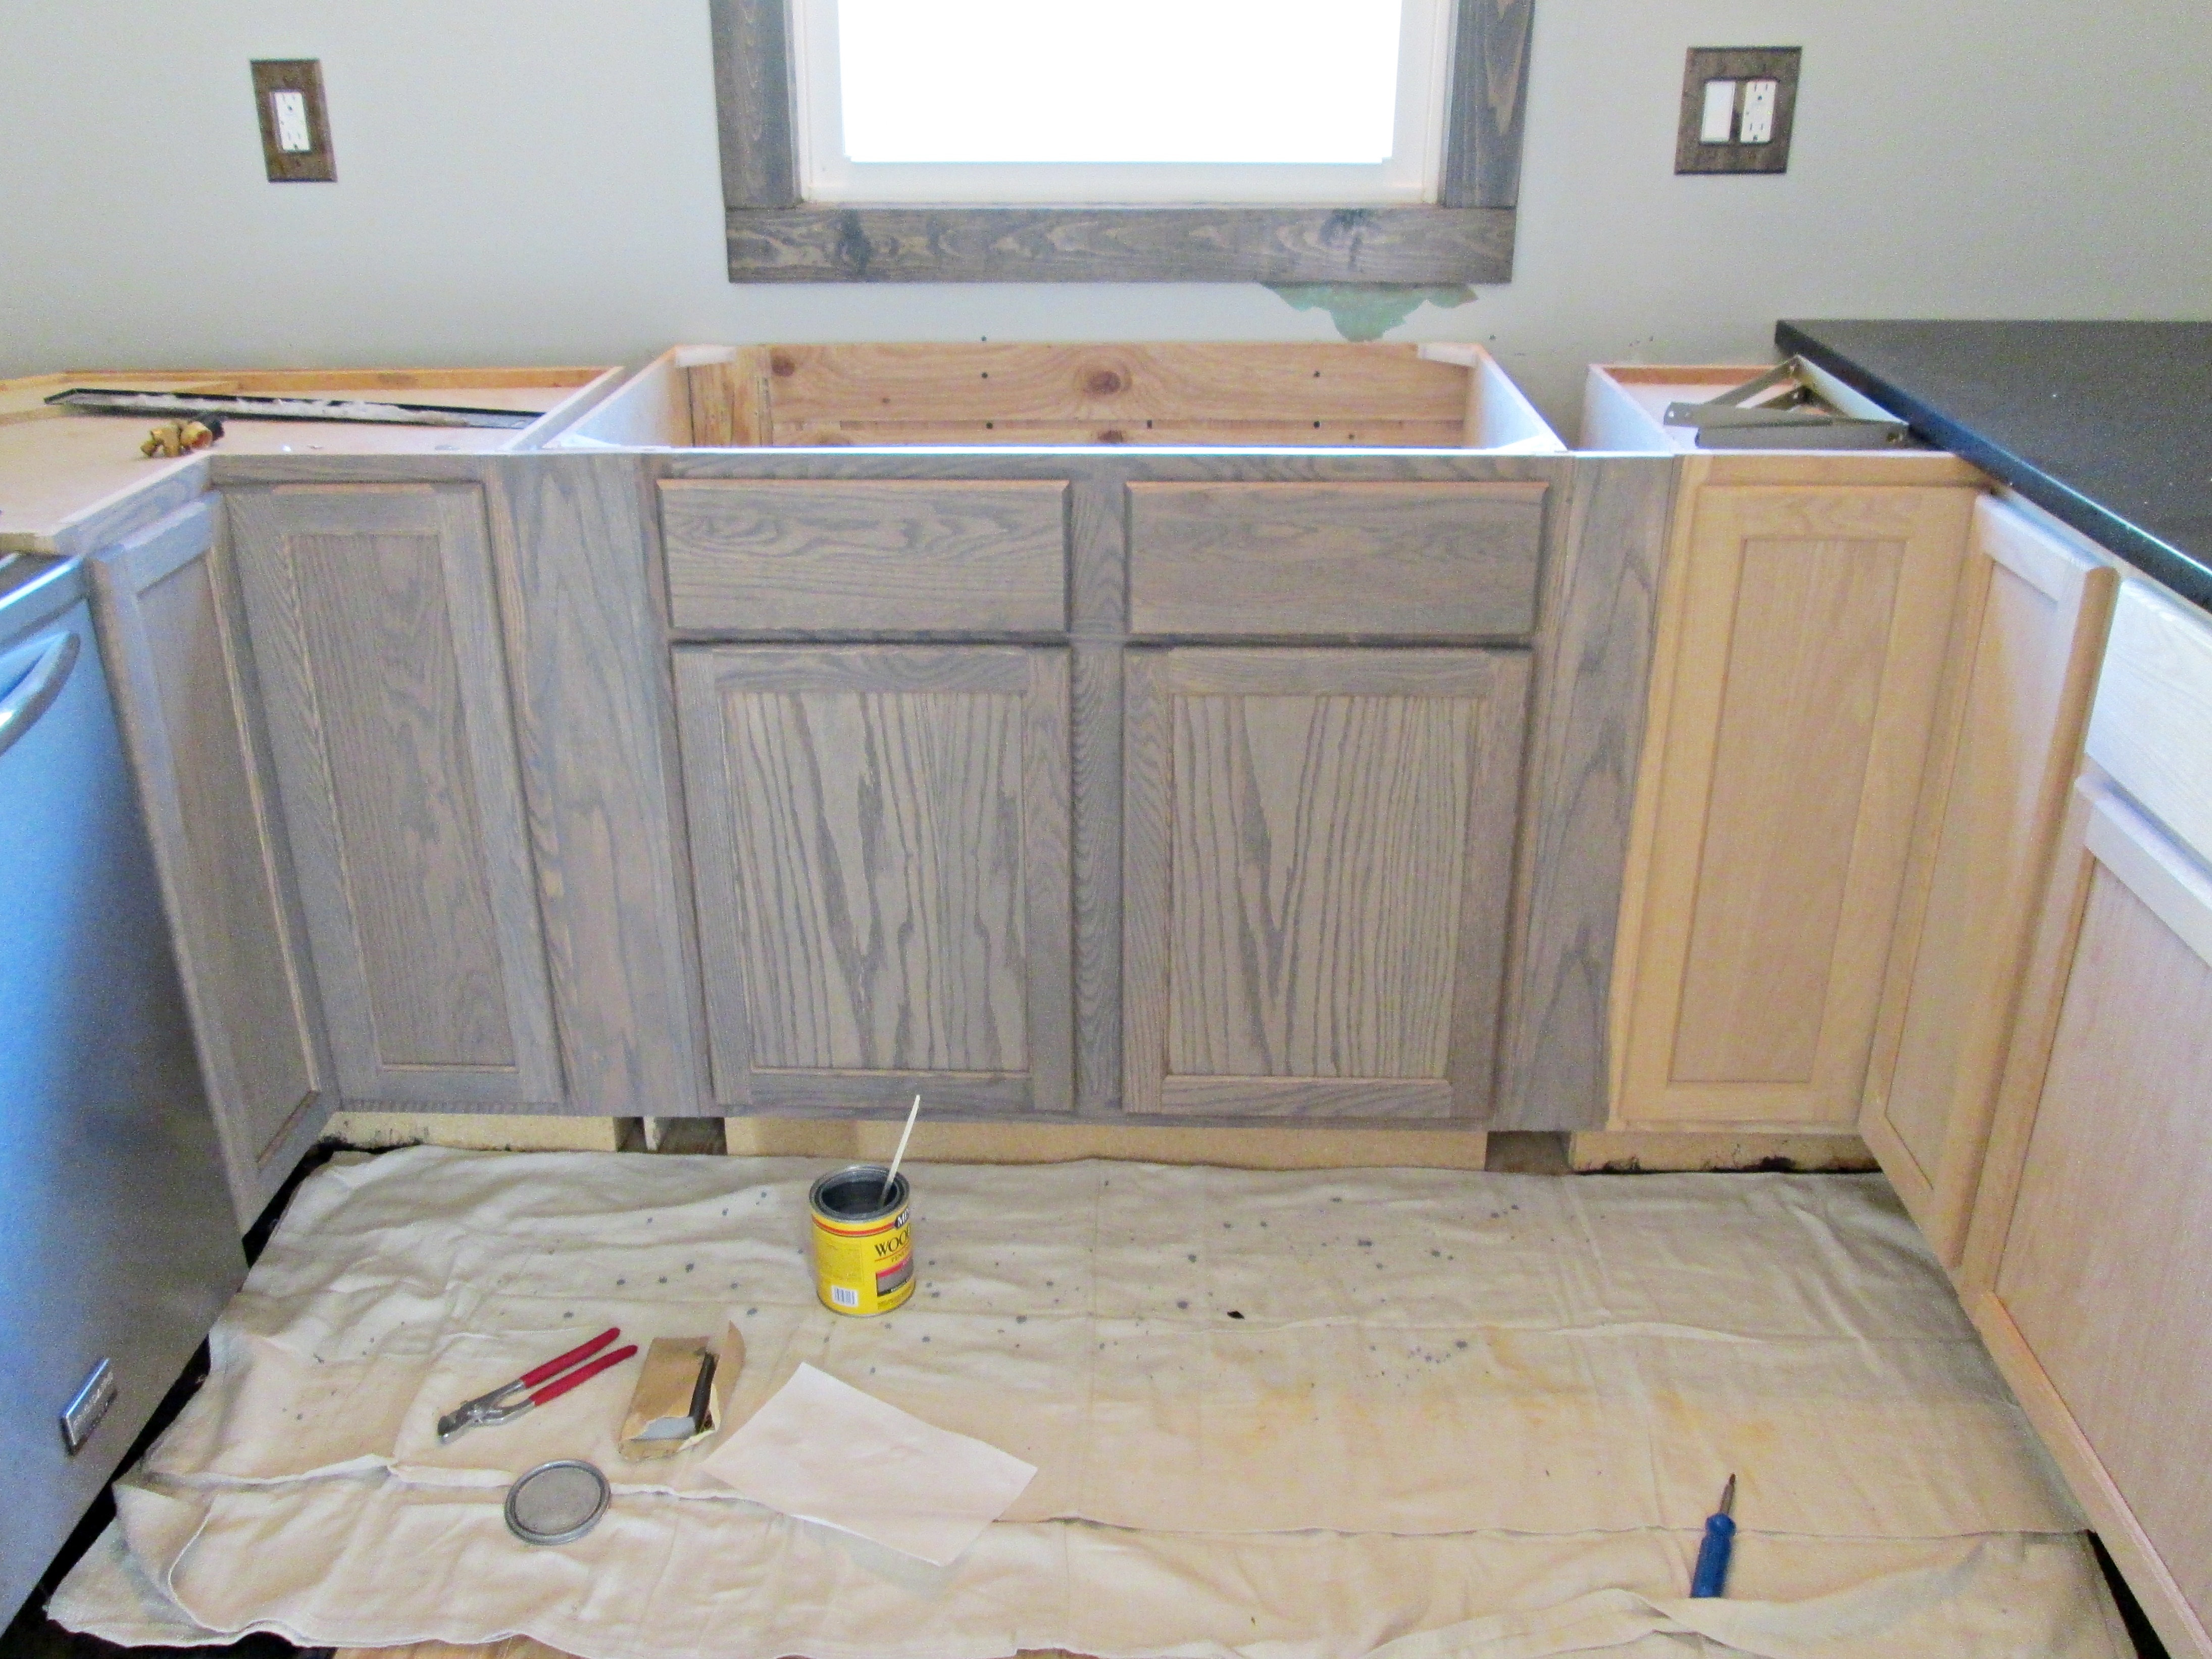
Once we had the canvas prepped, we gathered the cabinets from Menard’s and Lowe’s. We put them in place, and one by one, we secured them to the walls and each other. Raw and unfinished, the kitchen looked so much better already!


While we were installing the cabinets, we took a little time to test out our counter tops and back-splash plan. Just setting it up for a preview gave me so much inspiration! The counter tops came from an individual on Craigslist for $400; they’re made of quartz. So cool!! We weren’t looking for black, but we were open to exploration on the color scheme, so we went with what we found. We found the mirror at a small hardware store that happened to be closing it’s doors and was having a sale on all of their inventory, and these slices of mirror gave me a great idea, as you can see.

Even without the back splash in place, it looks so much better than it did before. In addition to getting all new cabinets, we took some time to redesign the layout just a smidgen to accommodate the appliances and counter top we wanted to use.
Nearly half of our kitchen is second hand. I bought the stove, dishwasher, and microwave as a set from an individual for $300 {holy cow!}, and they’re in great shape! The refrigerator is something I found at a repair shop, for $350, to {somewhat} match the rest of the appliances. It’s nice, but it still needs a bottom kick plate, so we’ll have to order one or have one manufactured. Luckily, I have a great brother that can and will take care of anything we need if we ask him.


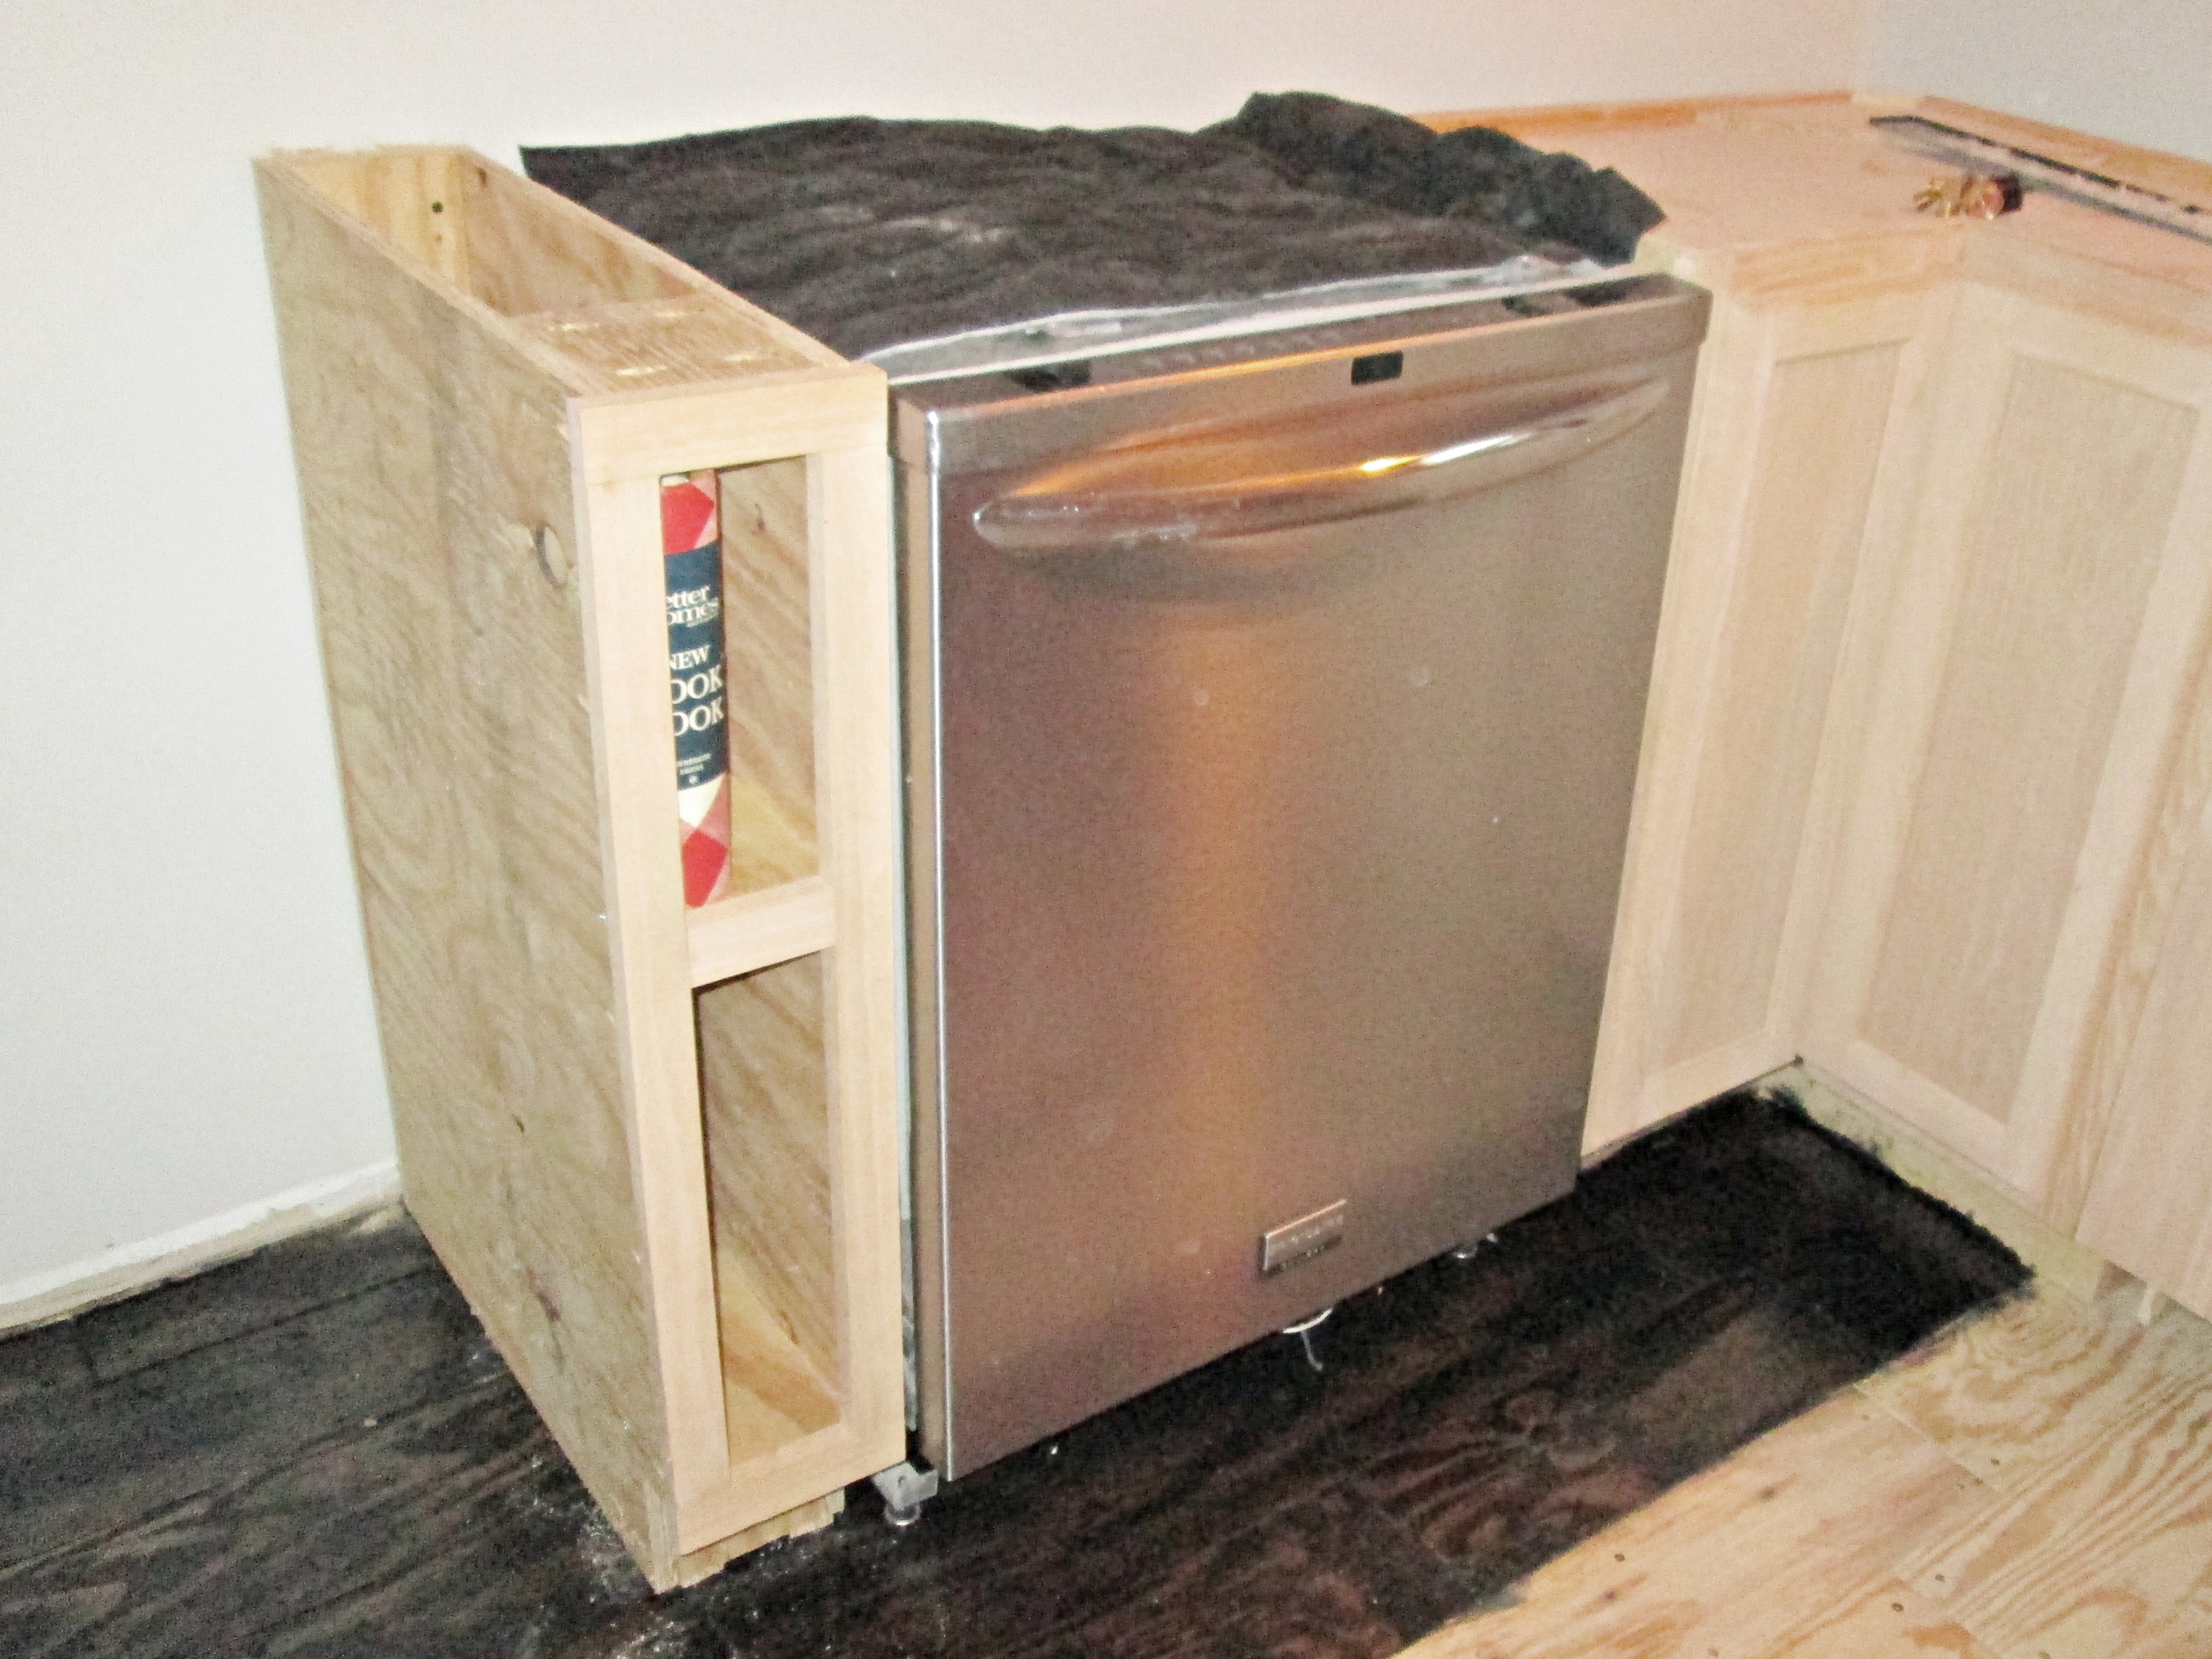
Nearly everything was in place, but we were still missing one critical cabinet that we couldn’t buy from the store. Between the dishwasher and the refrigerator, we needed a cabinet to support the counter top over the dishwasher, but it needed to be six inches to allow space for the refrigerator to fit between the kitchen doorway and the cabinet, so we needed to construct this cabinet ourselves. We found the tutorial online, as mentioned in Kitchen {Part 1}.

I think it turned out perfectly, and it’s so cute!! We’re planning to leave it open and use it for cook books and cookie sheets.

We big fans of wood grain, so instead of painting the cabinets a color, we decided on dark ebony for the trim, shelves, + floor and a light gray stain on the cabinets to add some contrast between the black counter tops and floor. I’m so excited to complete the final details in the kitchen; it has been one of the longest and most emotional journeys in this house, and I’m thrilled to be so close to the finish line in here.
